Easter is a time for celebration, family gatherings, and indulging in sweet treats. Among the most delightful desserts to grace your holiday table? Easter cake pops! These bite-sized confections are not only adorable but also customizable, making them a hit with kids and adults alike. In this comprehensive guide, you’ll learn how to make Easter cake pops from scratch, troubleshoot common issues, and discover creative decorating ideas to elevate your holiday spread.
Why Choose Easter Cake Pops?
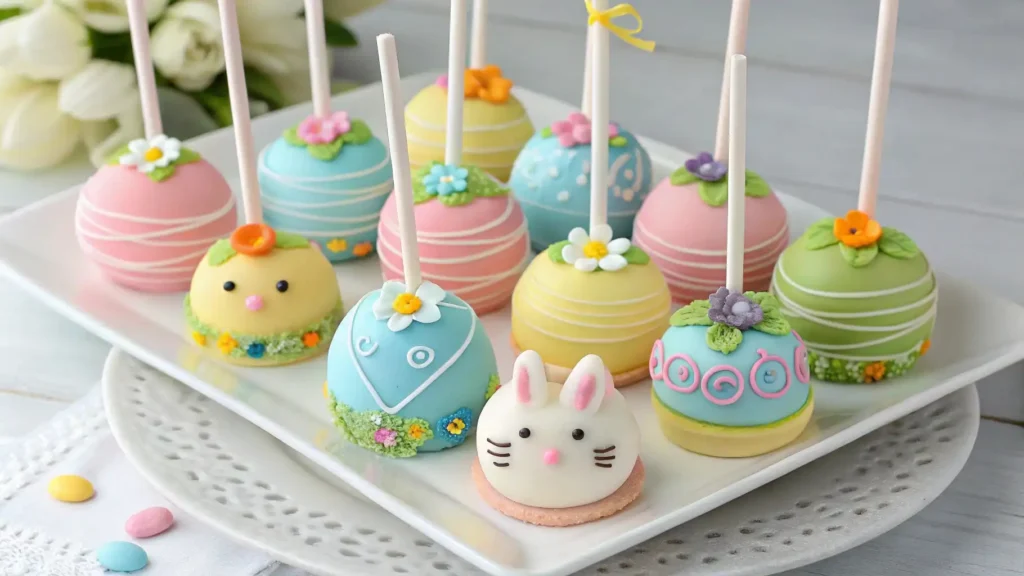
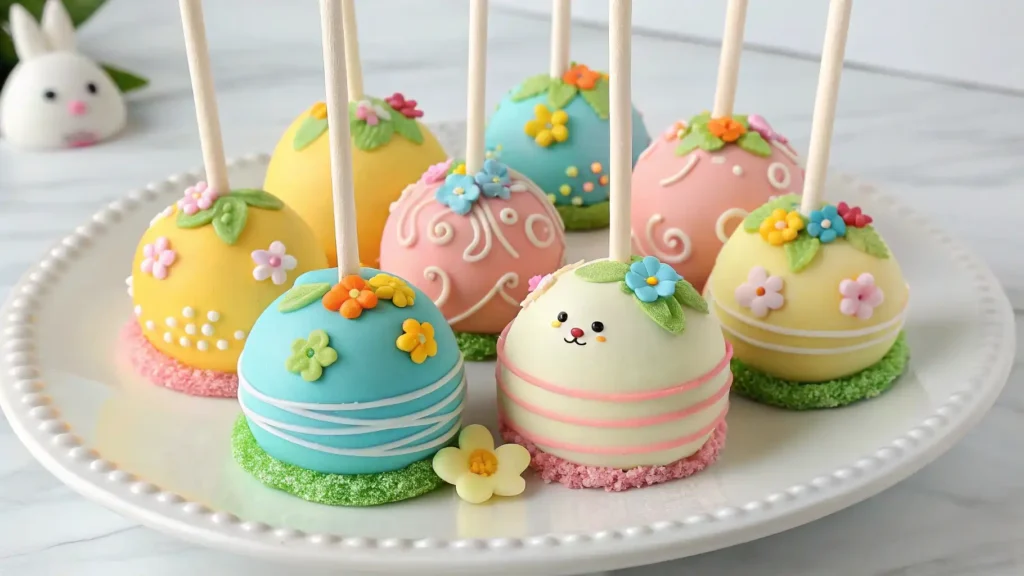
Easter cake pops are the perfect fusion of cake and candy—moist cake crumbs mixed with frosting, shaped into balls, dipped in chocolate, and decorated with festive toppings. Their small size makes them ideal for Easter egg hunts, brunch desserts, or party favors. Plus, they’re incredibly versatile: you can tailor flavors, colors, and designs to match your Easter theme.
Whether you’re a baking novice or a seasoned pro, Easter cake pops offer endless opportunities for creativity. From pastel sprinkles to edible bunny ears, these treats are as fun to make as they are to eat!
How to Make Easter Cake Pops: Step-by-Step Recipe
Follow this foolproof recipe to create Easter cake pops that are moist, flavorful, and picture-perfect.
Ingredients
- 1 box vanilla or chocolate cake mix (plus ingredients listed on the box)
- ½ cup vanilla frosting (store-bought or homemade)
- 24 oz candy melts (white, pastel pink, blue, or yellow)
- Lollipop sticks
- Easter-themed sprinkles, edible glitter, or mini chocolate eggs
- Optional: Food coloring for custom hues
Instructions
- Bake the Cake: Prepare the cake according to the box instructions. Let it cool completely.
- Crumble and Mix: Crumble the cake into fine pieces in a large bowl. Add frosting and mix until the texture resembles dough.
- Shape the Balls: Roll the mixture into 1-inch balls (about 24–30) and place them on a parchment-lined tray. Chill for 1–2 hours.
- Melt the Coating: Melt candy melts in a microwave-safe bowl, stirring every 30 seconds to avoid burning.
- Assemble the Cake Pops: Dip the tip of a lollipop stick into the melted coating, then insert it halfway into a cake ball. Repeat for all balls.
- Dip and Decorate: Dip each cake pop into the coating, tap off excess, and immediately add sprinkles or toppings. Let dry upright in a foam block or cake pop stand.
Pro Tips for Perfect Easter Cake Pops
- Avoid Cracks: Ensure cake balls are chilled thoroughly before dipping to prevent cracking.
- Thin the Coating: If the candy melts are too thick, add 1 tsp of coconut oil for smoother dipping.
- Use Styrofoam: Drying cake pops upright in styrofoam keeps their shape intact.
5 Creative Easter Cake Pop Decorating Ideas
Elevate your Easter cake pops with these simple yet stunning designs that capture the holiday spirit:
- Classic Speckled Eggs
- Dip cake pops in pastel-colored candy melts (pink, mint, or lavender).
- Use a toothbrush to splatter brown or gold food coloring for a “speckled egg” effect.
- Add edible glitter for extra sparkle.
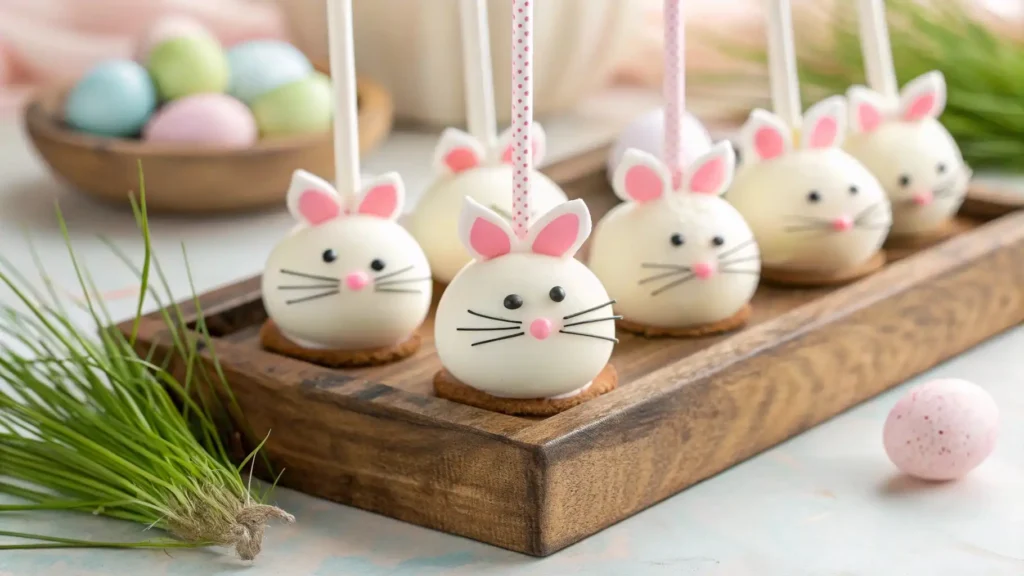
- Adorable Bunny Faces
- Coat pops in white candy melts.
- Attach pink candy ears (use fondant or pink melts) and draw whiskers with edible marker.
- Add mini marshmallows for fluffy cheeks!
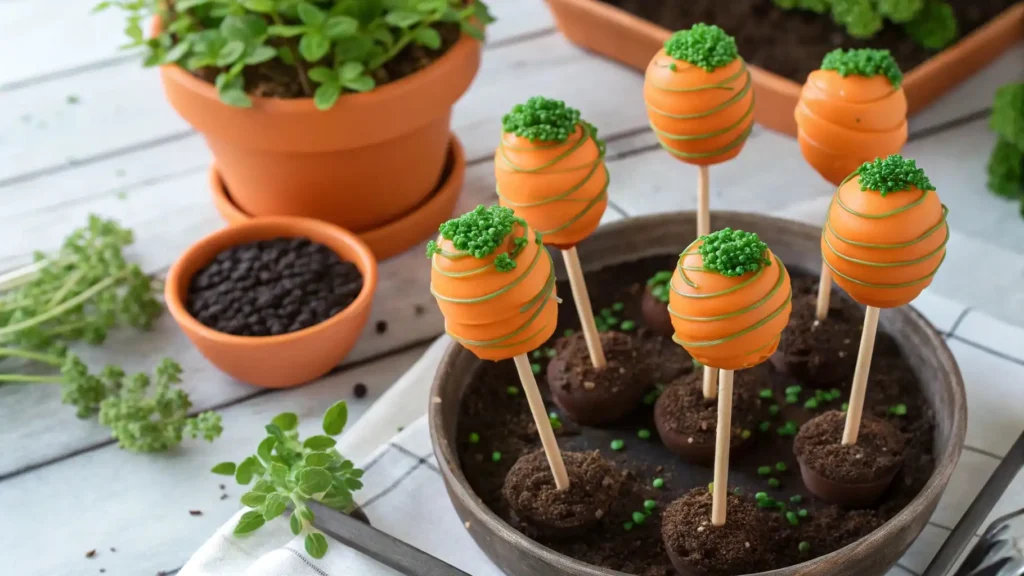
- Carrot Garden Pops
- Shape cake balls into tiny carrots (tapered at one end).
- Dip in orange candy coating and roll the top in green sprinkles for “carrot greens.”
- Pair with crushed Oreo “dirt” for a garden-themed display.
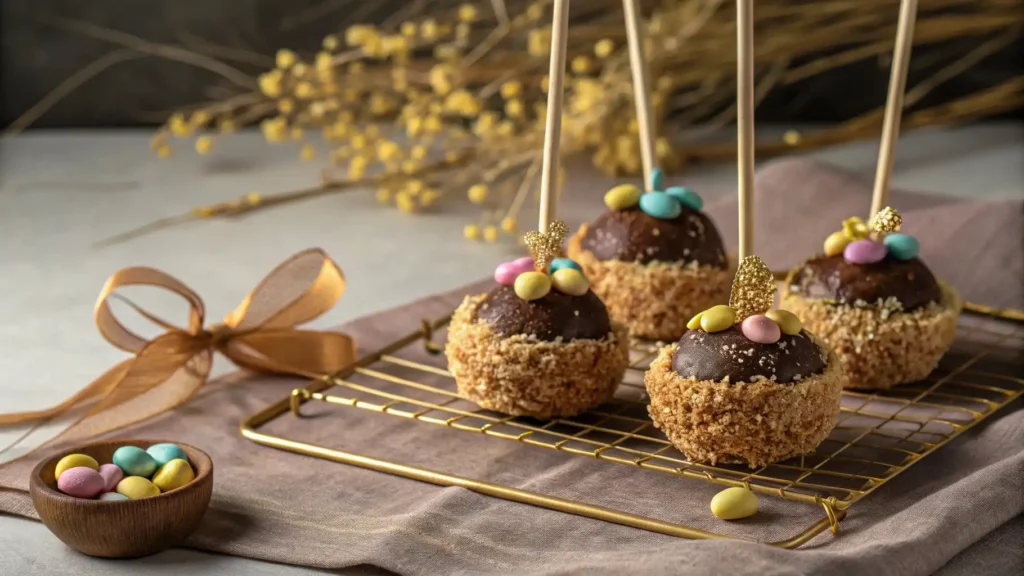
- Golden Nest Pops
- Dip pops in chocolate or yellow candy melts.
- Press shredded wheat cereal (toasted) onto the coating to mimic a nest.
- Place mini candy eggs (or jellybeans) on top.
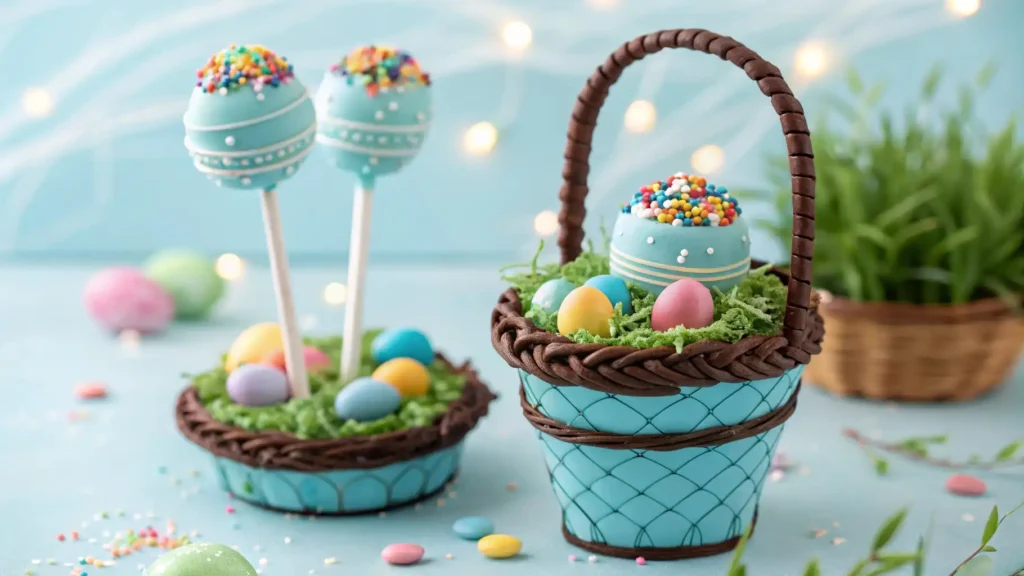
- Easter Basket Pops
- Use pastel blue or green coating for the base.
- Create a “basket handle” with piped chocolate or licorice.
- Fill the “basket” with sprinkles or tiny fondant eggs.

Troubleshooting Common Issues
- Falling Off Sticks? The coating acts as glue—dip the stick in melted candy before inserting.
- Too Sweet? Reduce frosting to ⅓ cup for a less sugary taste.
- Soggy Texture? Store cake pops in an airtight container at room temperature for up to 3 days.
FAQs About Easter Cake Pops
Q: Can I make Easter cake pops ahead of time?
A: Yes! Prepare the cake balls up to 2 days in advance and store them in the fridge before decorating.
Q: Are there gluten-free options?
A: Substitute gluten-free cake mix and ensure candy melts are gluten-free.
Q: How do I transport cake pops?
A: Use a cake pop carrier or secure them in a cardboard box with foam inserts.
Why Easter Cake Pops Are a Holiday Must-Have
Easter cake pops add a whimsical touch to any celebration. They’re portable, mess-free, and allow you to incorporate seasonal colors and motifs. Plus, baking them is a fantastic family activity—kids love rolling the balls and adding sprinkles!
Conclusion
With this guide, you’re ready to master Easter cake pops and impress your guests this holiday. Whether you stick to classic designs or experiment with quirky themes, these treats are sure to become a cherished part of your Easter traditions. Don’t forget to share your creations on social media—tag them with #EasterCakePops to inspire others!
Read more :
How to Make the Perfect Vanilla Bean Frappuccino Recipe at Home

